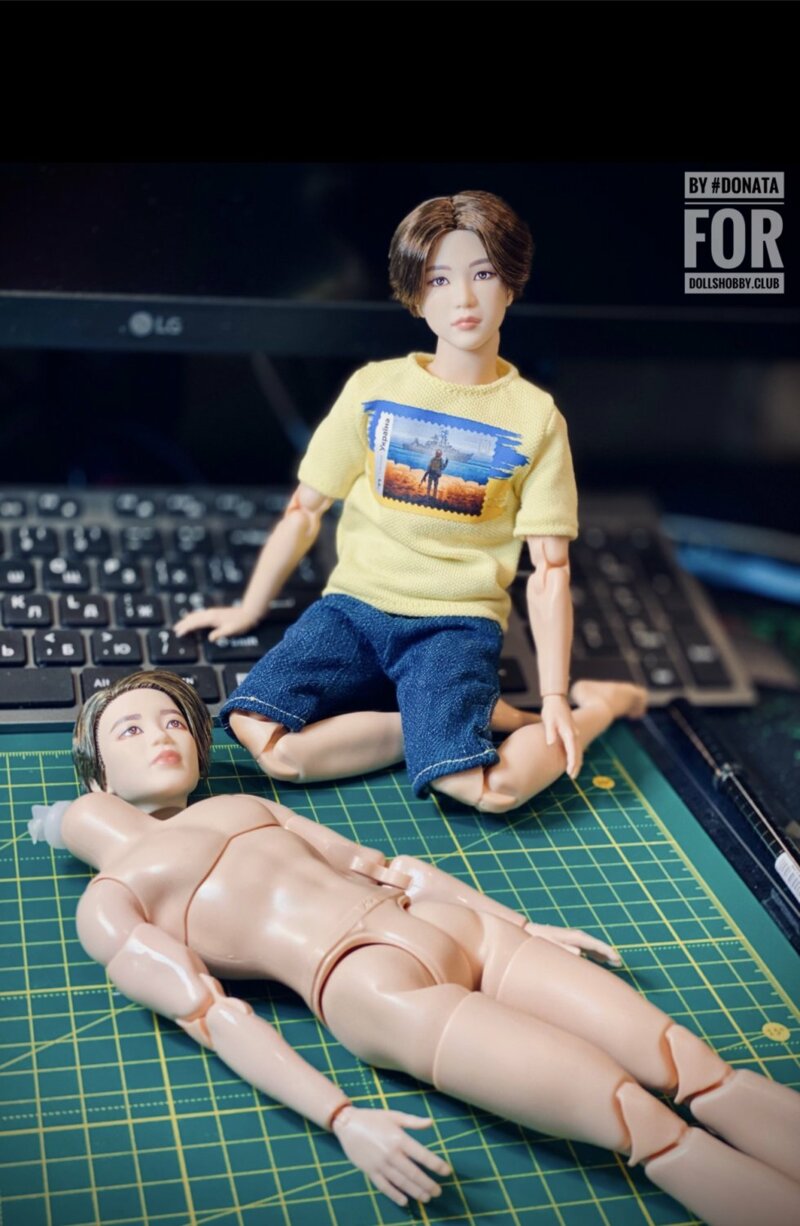
Hello everybody! Finally, I managed to take a photo of the process of cutting the head of BTS under the body of Ken, the bundle of BMR. I did not come up with the basis of this method, but since I have had such hybrids (Suga and Jungkook) made by me for some time now, I will share my personal method and materials with which I make similar transplants.
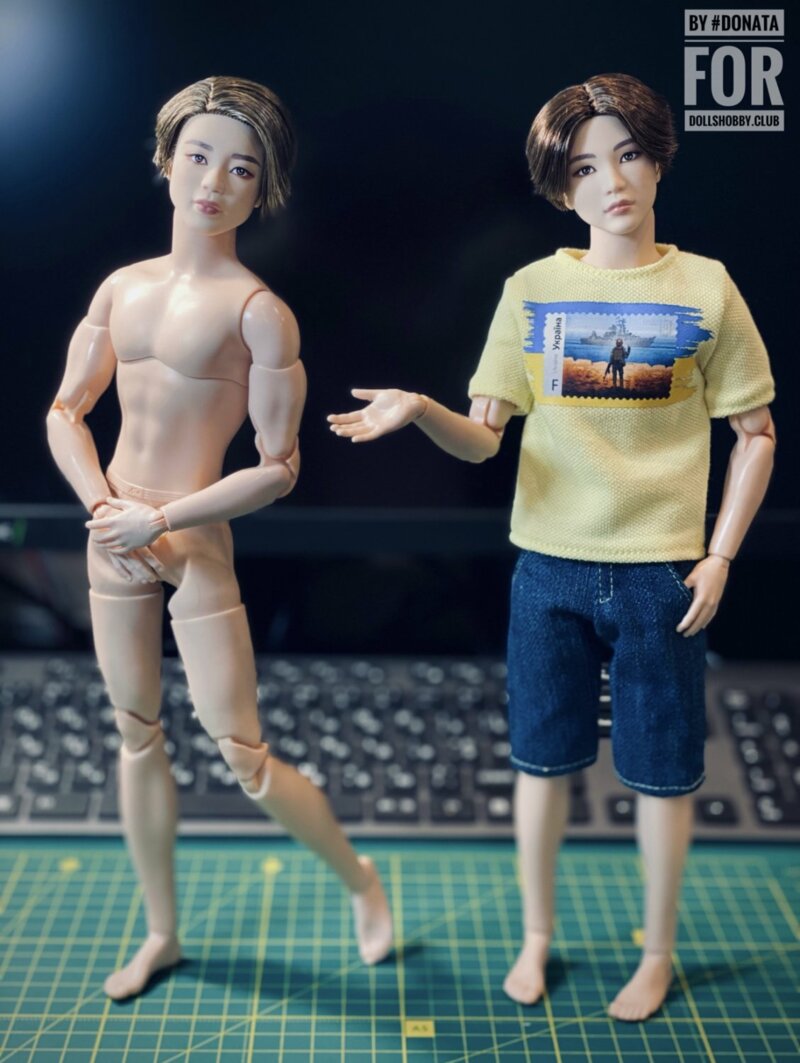
Jimin was lucky this time 😍 Well, what if without support in the form of one of his best friends - Suga?☺️
So, let's go!
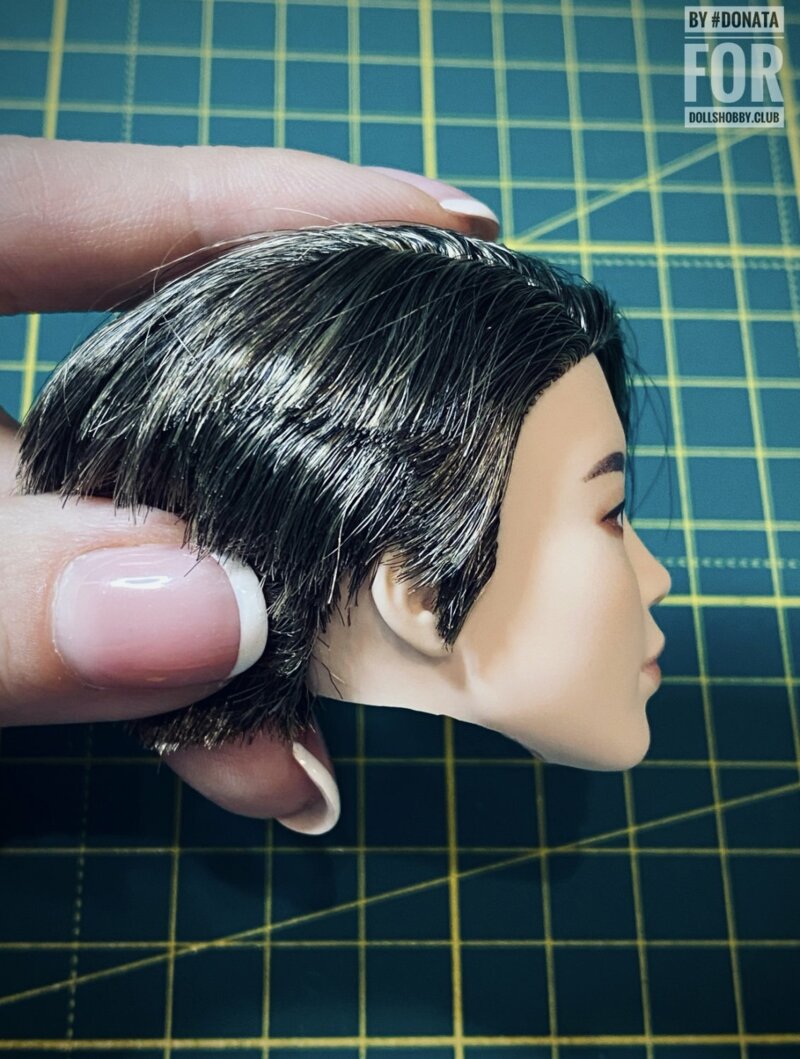
In advance, we thoroughly wash our hands and during the process try not to touch the face of the doll - this is a kind of prevention of damage to the make-up 😉
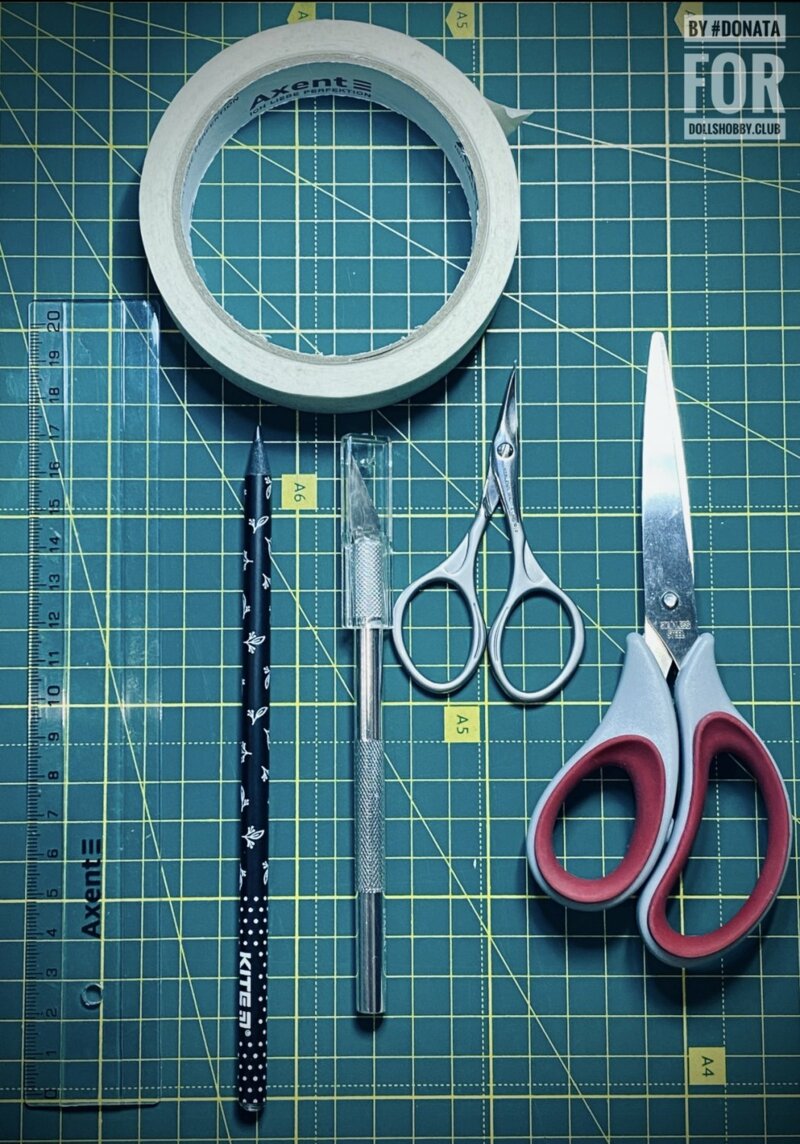
📝Materials that should be at hand:
✅ Stationery scalpel or knife.
✅ Small sharp scissors. I have manicures for cuticles, with bent tips.
✅ Large ordinary scissors.
✅ Ordinary pencil.
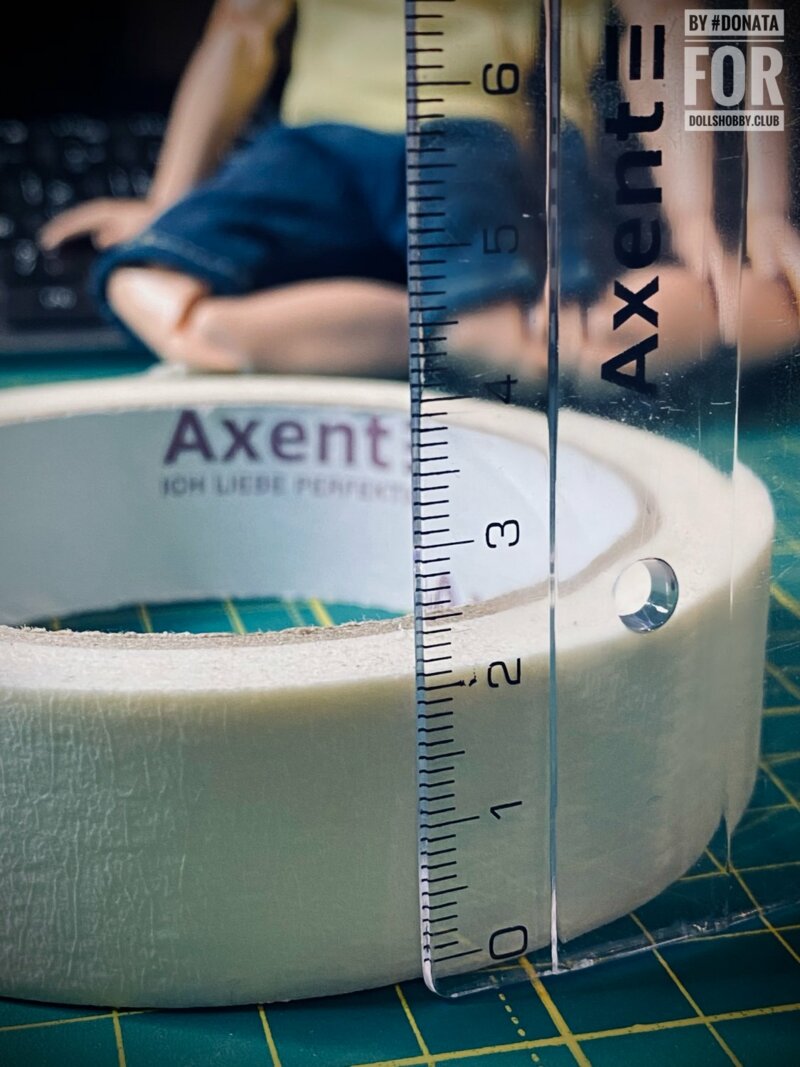
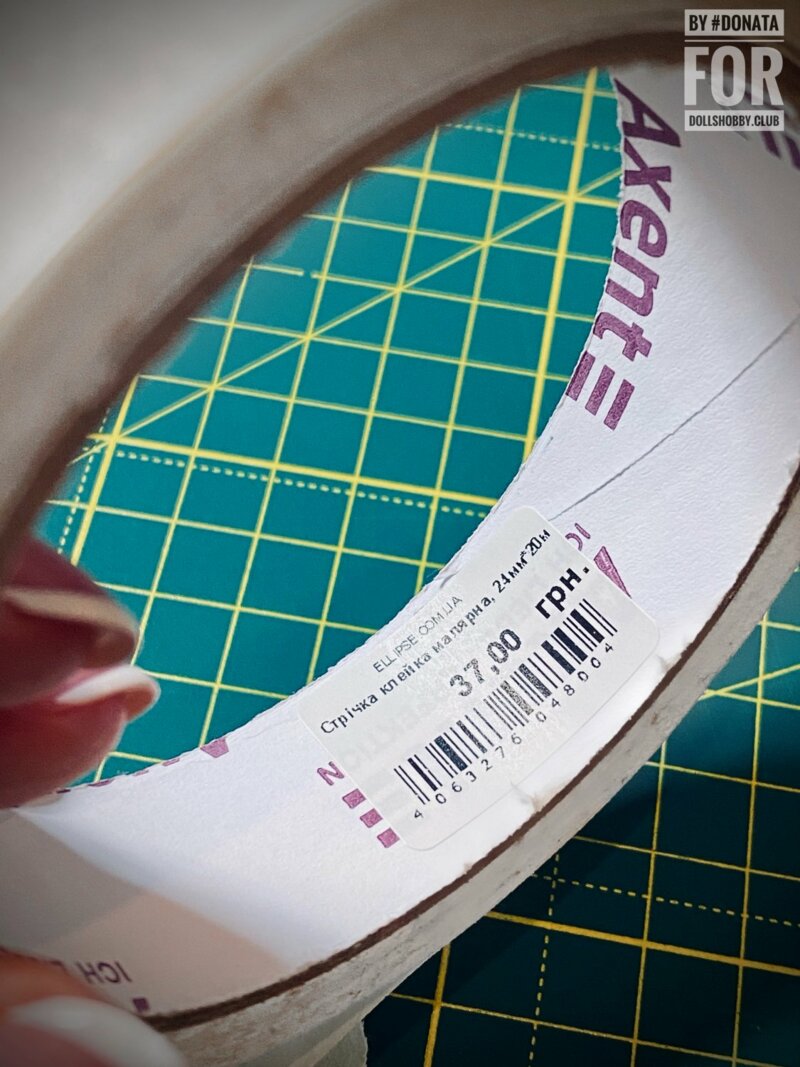
✅ Paper tape. I use 2cm wide Axent, it has good adhesion and, at the same time, does not "float", does not scratch and does not damage the stitching of the doll from the inside of the head.
✅ Ruler.
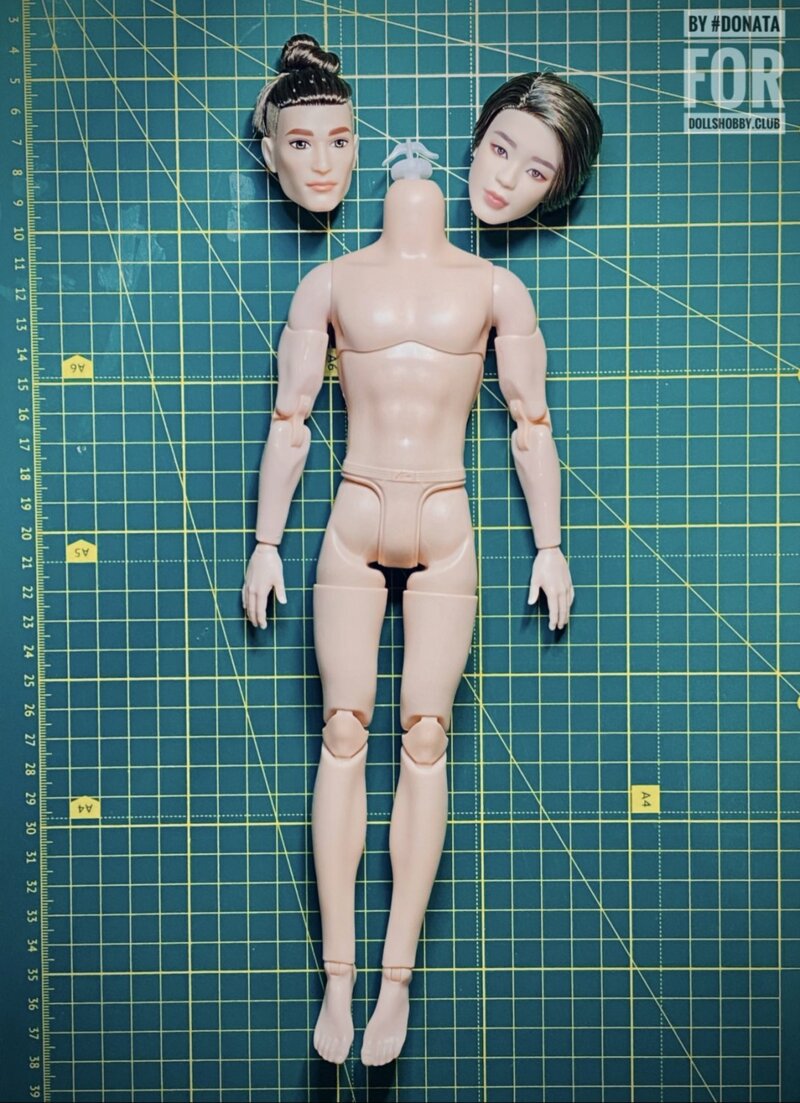
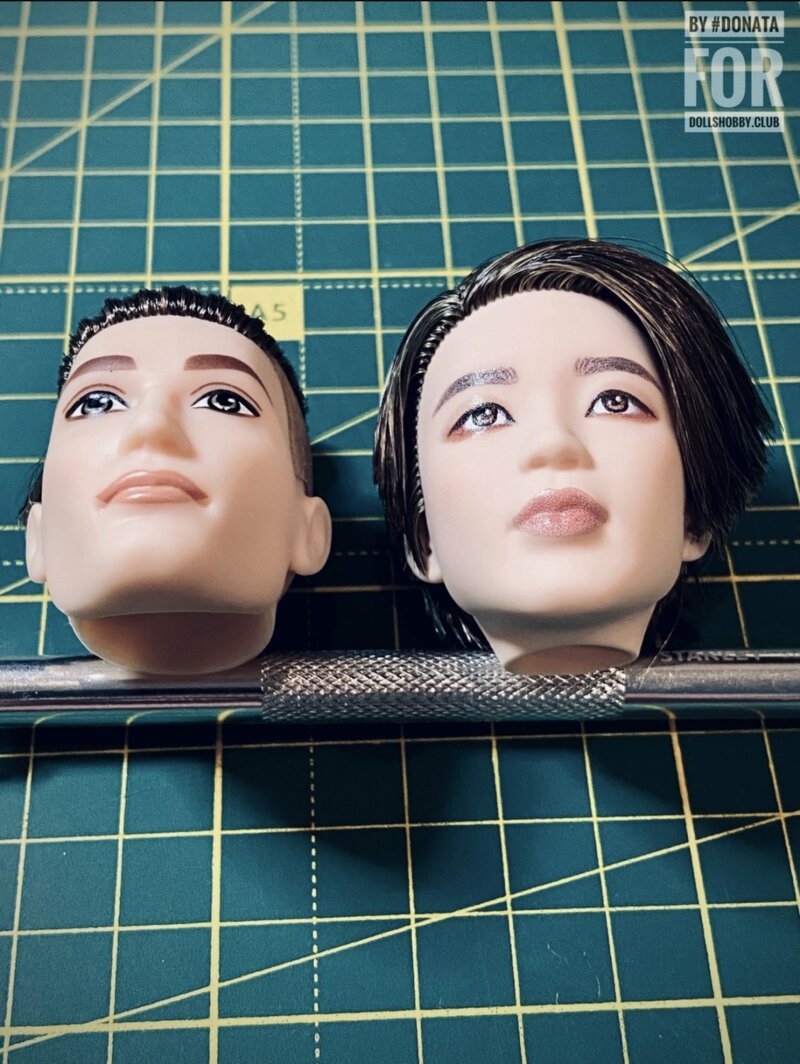
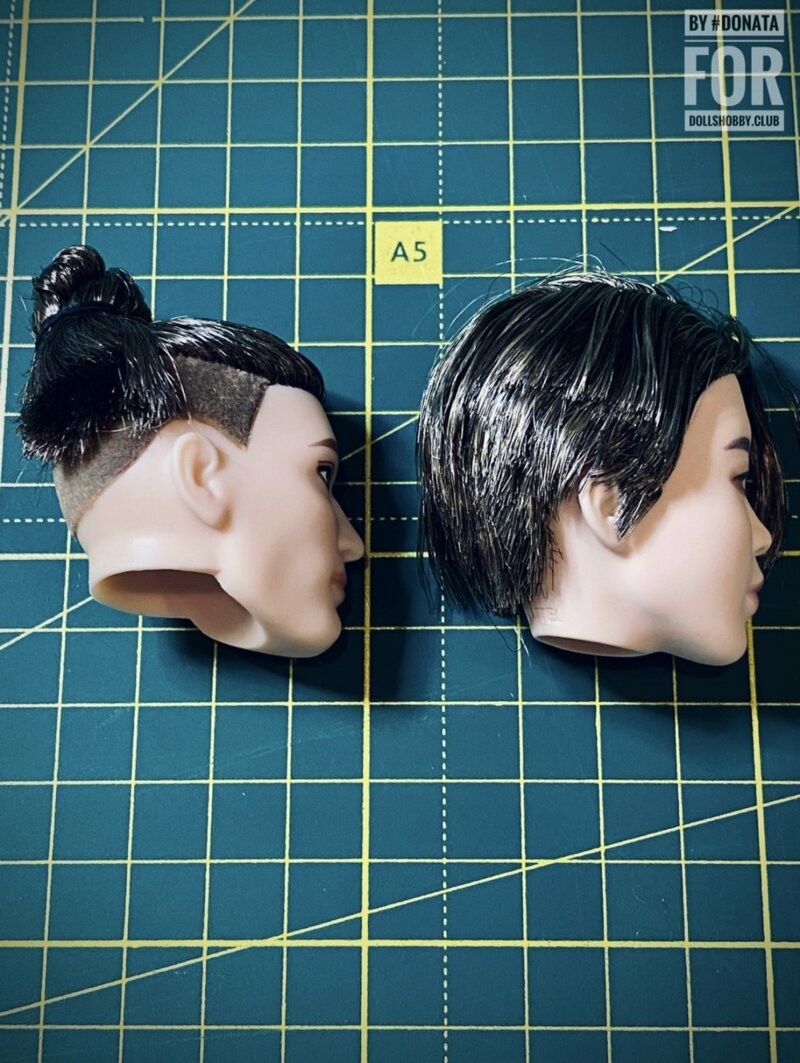
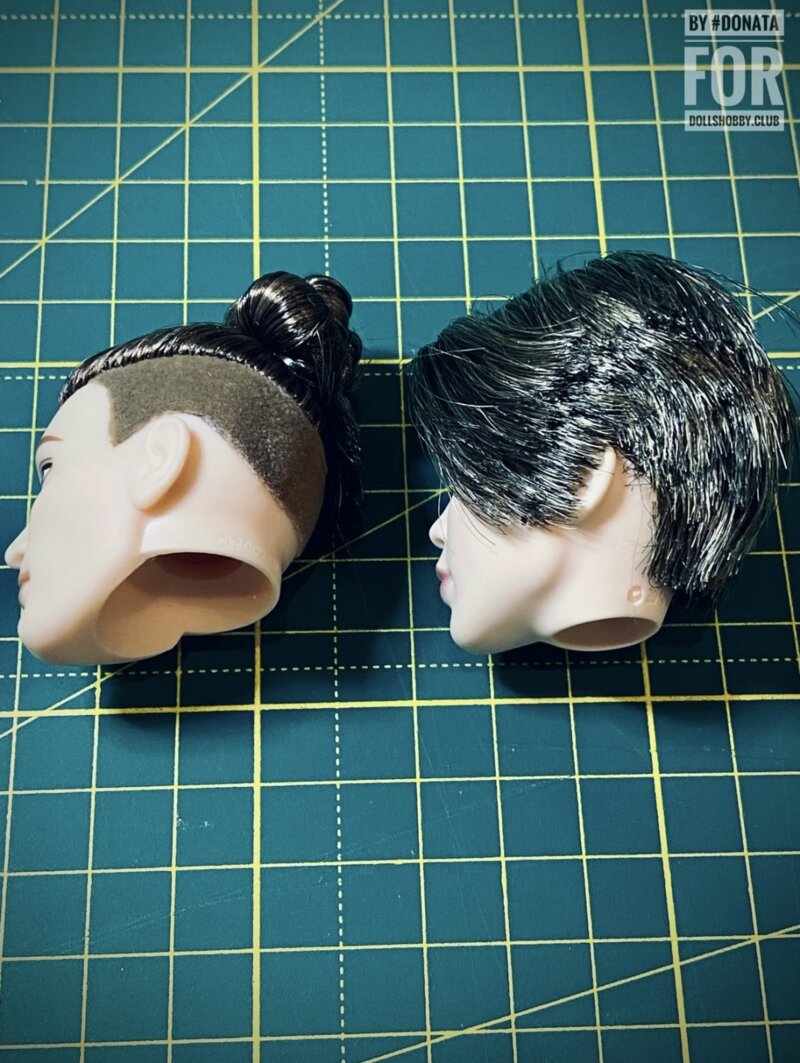
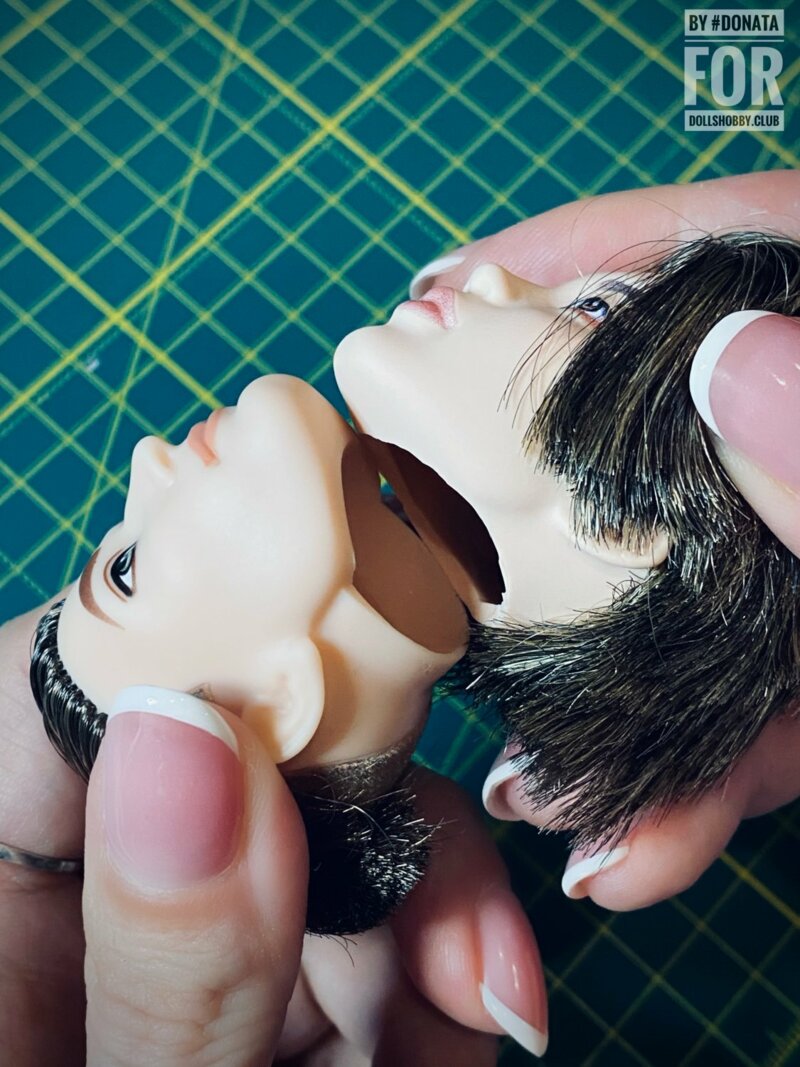
In order to understand the problem, let's take a closer look at the difference between the place of attachment of the head of the BTS and the BMR.
In order for Chimin's head to naturally connect with the neck of BMR's body, we need to create a hole with a similar outer diameter.

I already have a little experience, so I cut "by eye". If you have doubts, it is better to outline the line along which you will cut with a pencil.
I make a preliminary cut with a sharp scalpel, and then cut with manicure scissors, it's so convenient for me. But, if it is more convenient for you to continue cutting with a scalpel in a circle - you can do that too)
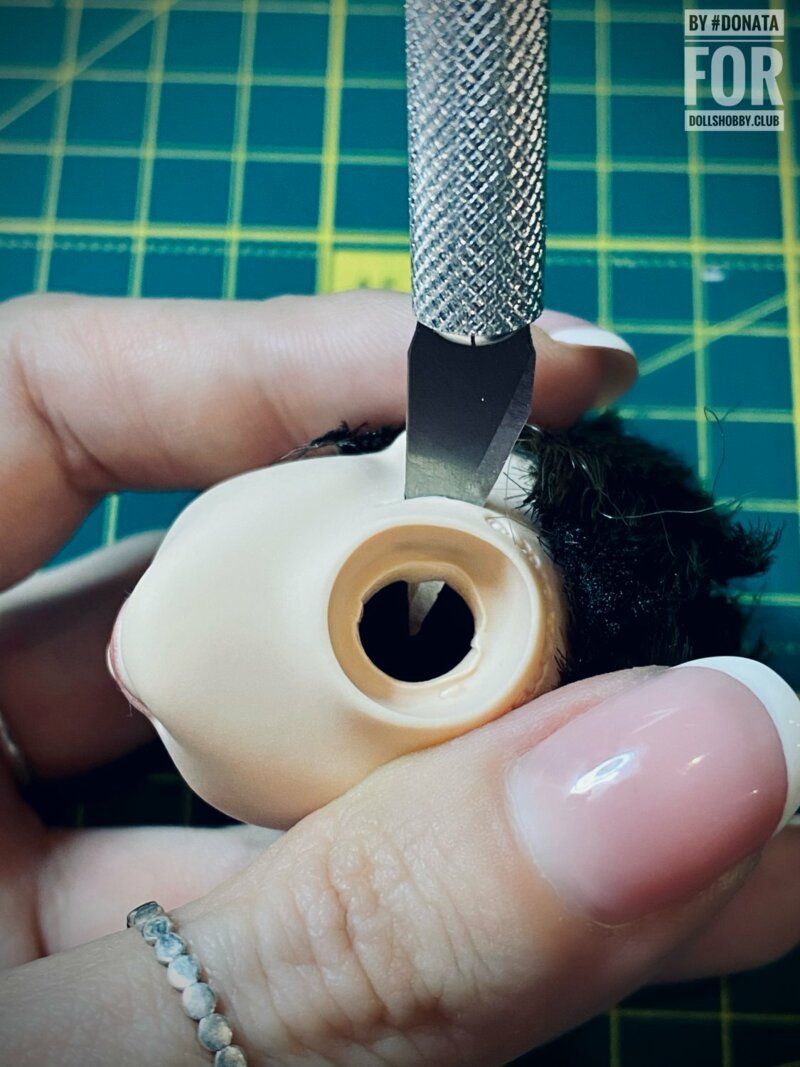
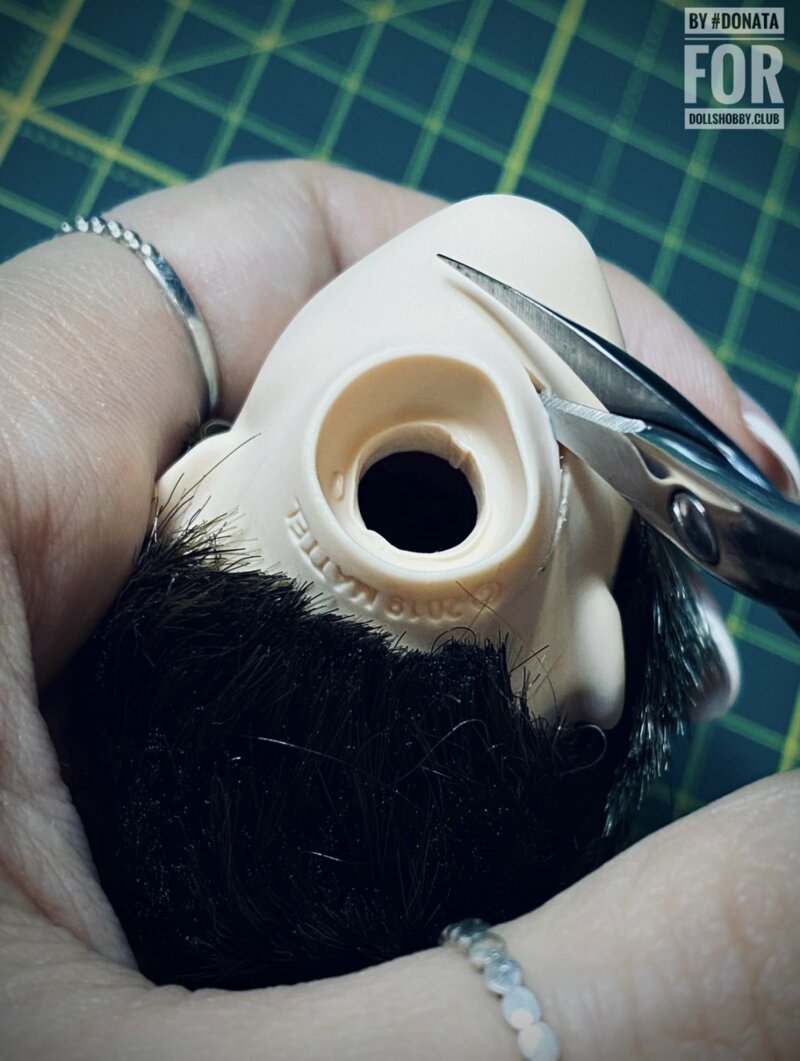
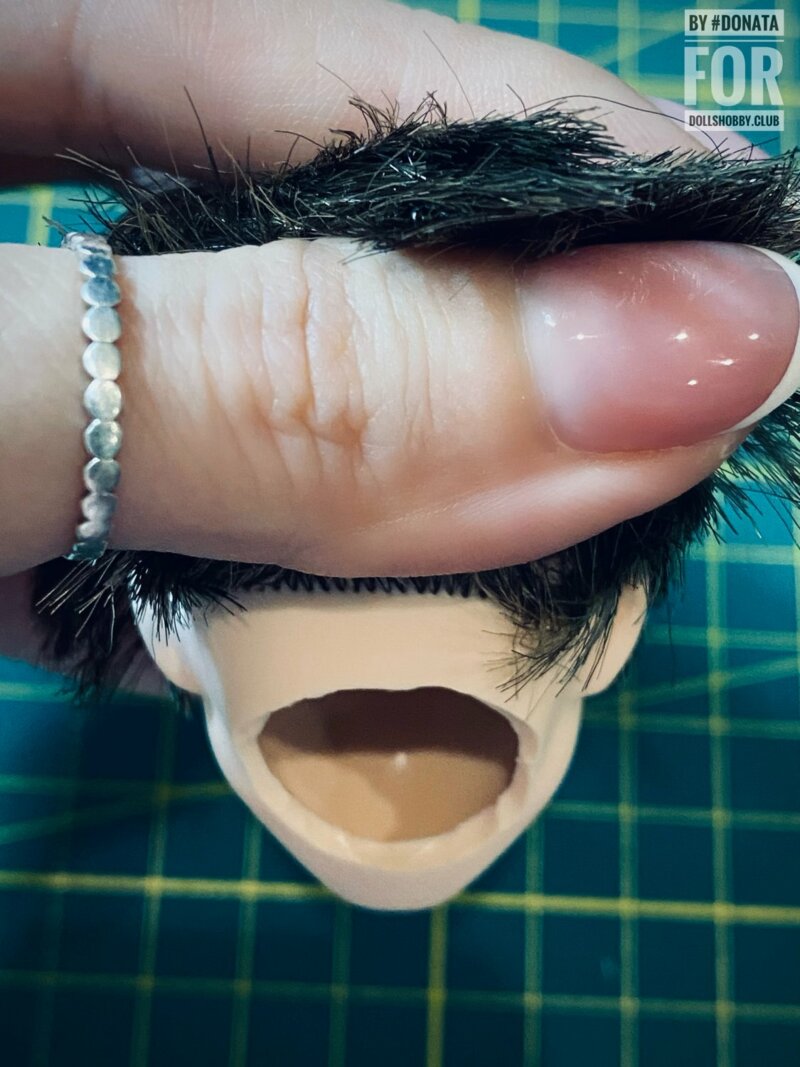
This is what comes out after the first cut:
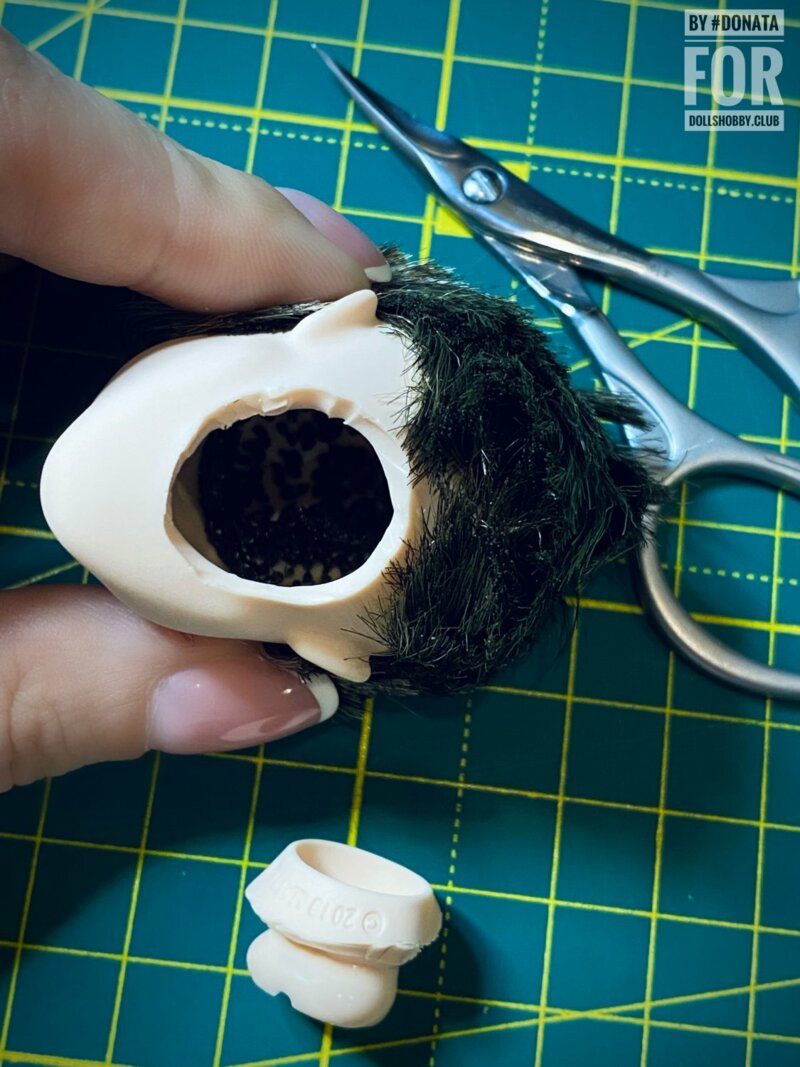
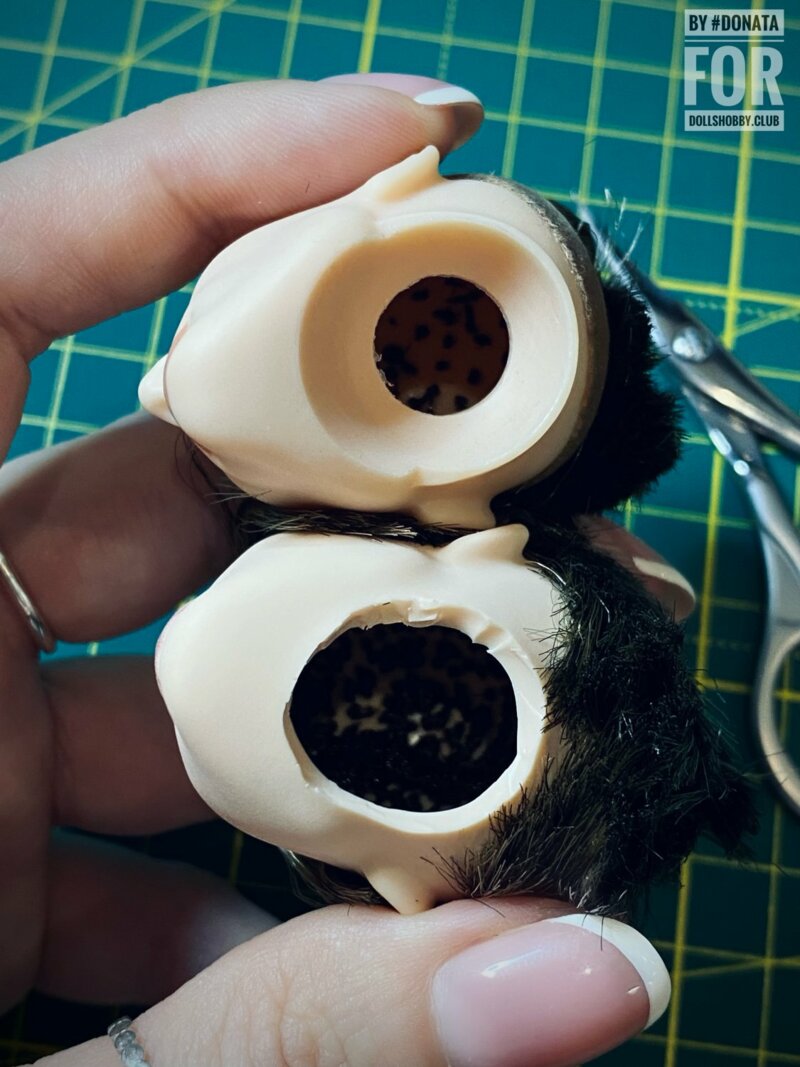
Compare with Ken's hole. I remind you - we "fit" the outer circumference, not the inner hole.
We measure the head to the neck. And we see that it does not look very good, the head does not "sit down" deep enough, the neck looks like a giraffe. The hole is too small.
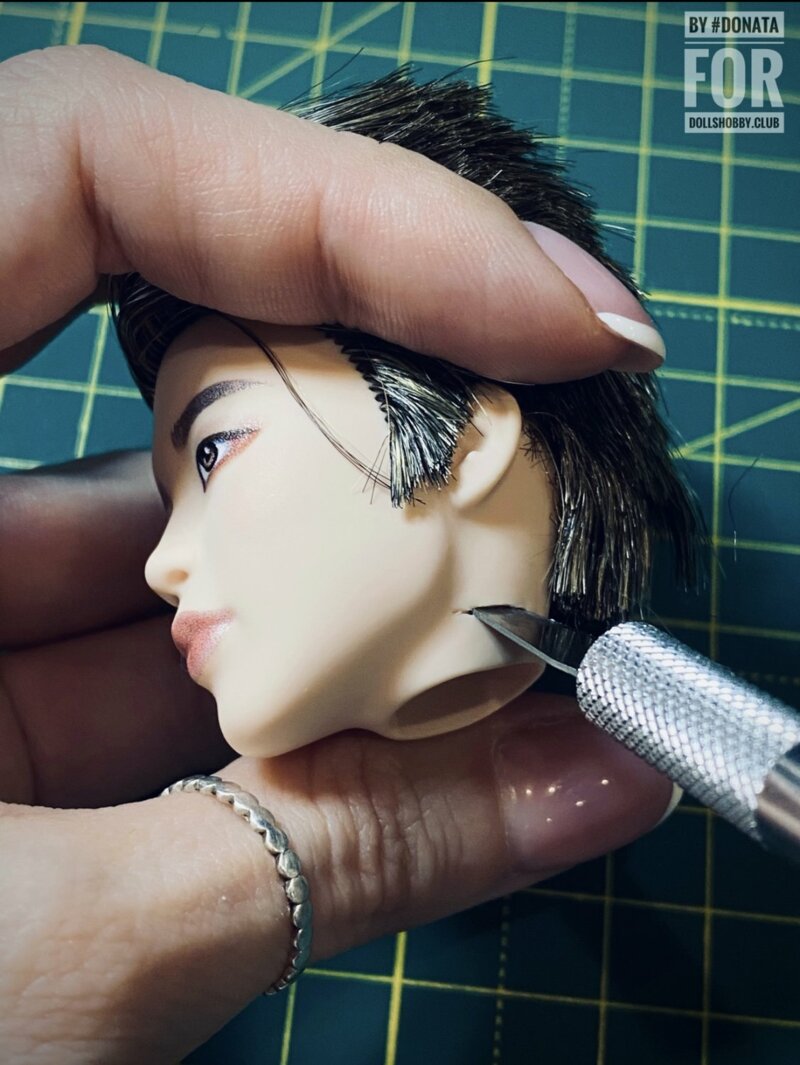
I trim a little more, but not from the sides, but from the side of the chin and the side of the back of the head. Do not try to grab the rubber in large pieces at once, there is a risk of overdoing it, cut small pieces and constantly measure the head to the neck.

I cut away little by little, simultaneously cleaning the edges of the cut with scissors so that they are not torn. The cut line from the outside should look smooth and neat.
Let's try it on. Now the head "sat down" naturally, tightly hugging the neck. If you make the hole too large, the neck will fall freely into the head, so you need to cut slowly and little by little.
We compare the diameters - they match. If desired, you can make the cut line on the side near the jaw (under the ear) as curly as Ken's. I decided to leave this line smooth this time.

Let's move on to the second part of the Marleson Ballet 😅
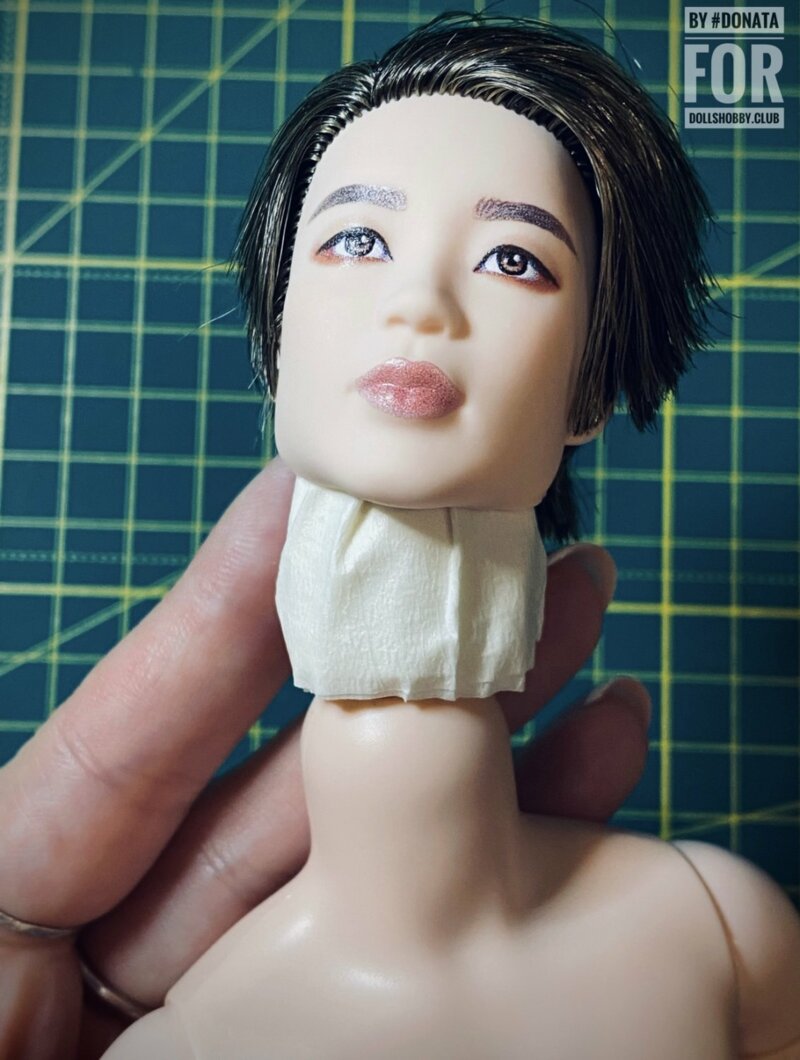
We take the paper tape and start tightly winding it on the anchor. Make sure that the anchor is not taped to the neck, but continues to move freely. We periodically flatten the winding with our fingers so that it is tight, without air between the layers of the winding.
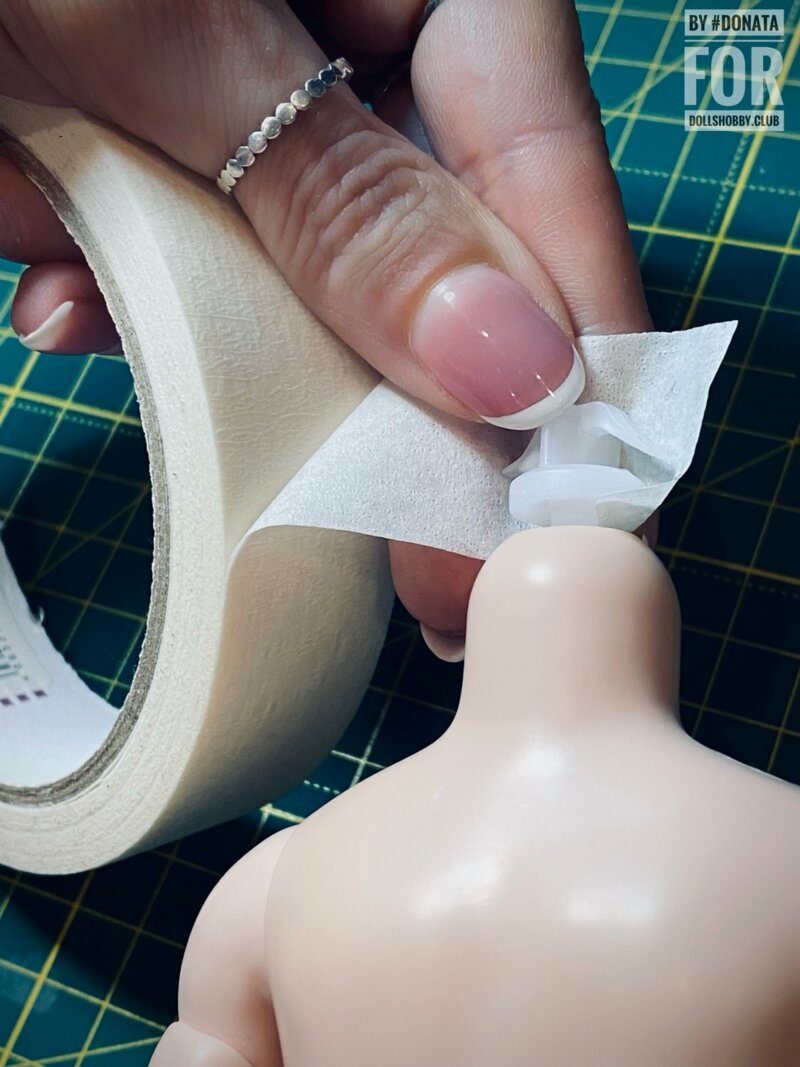
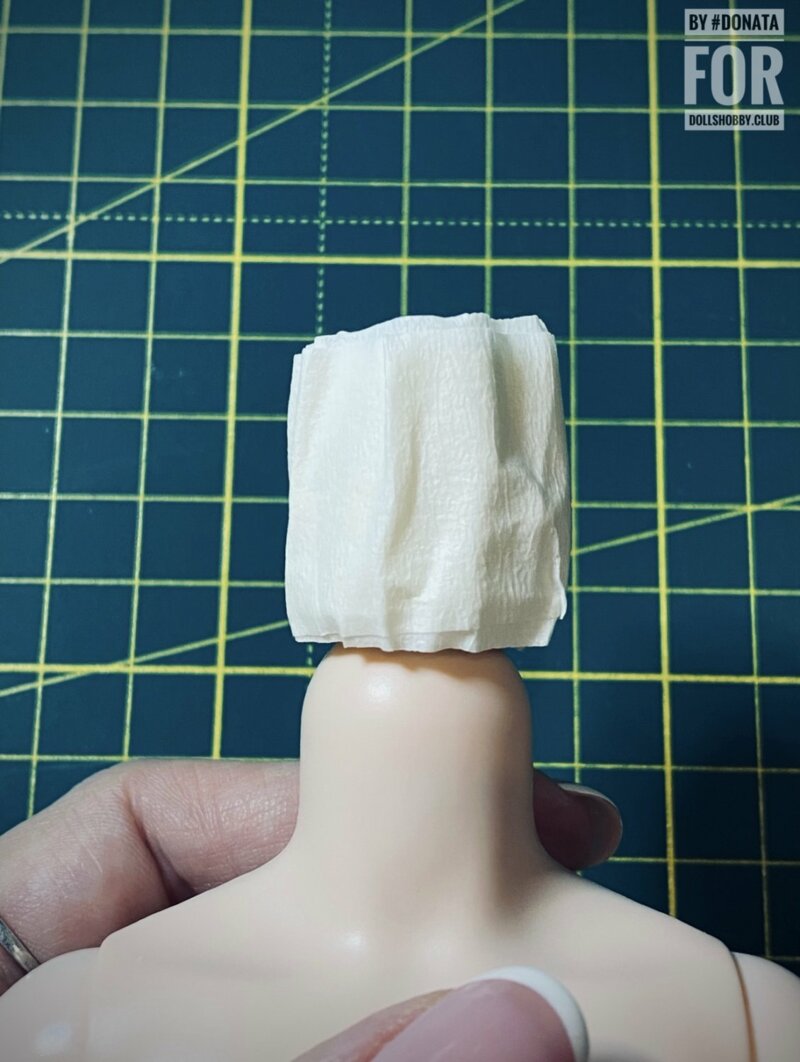
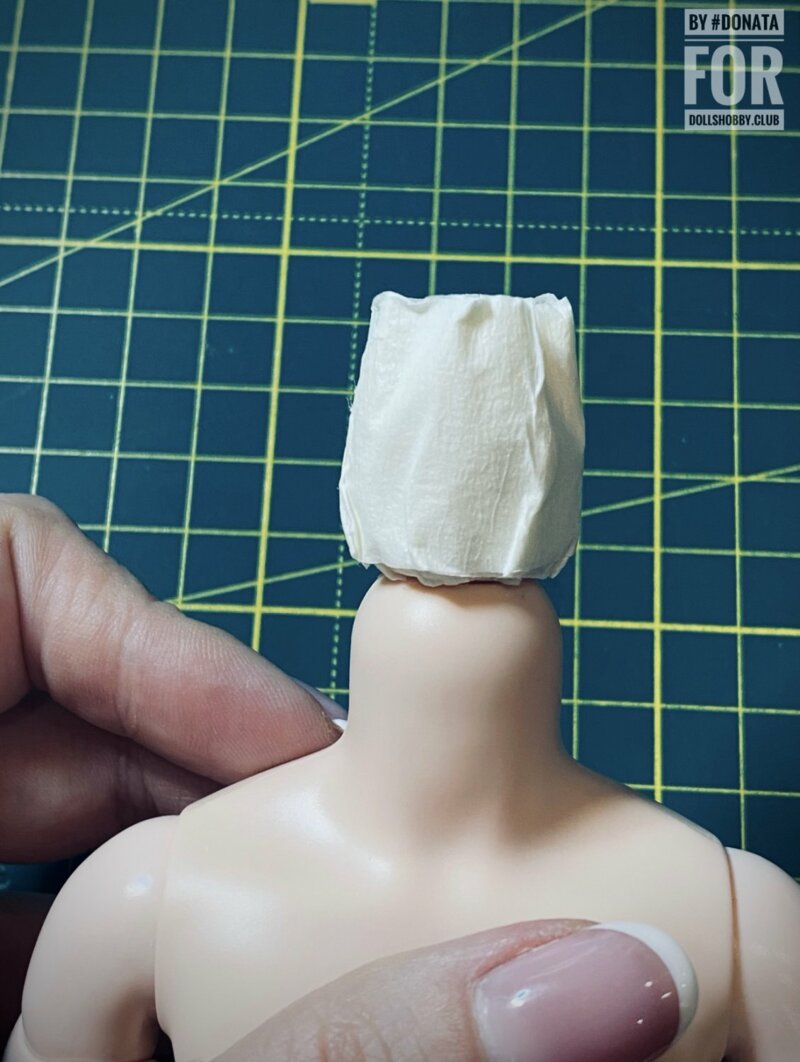
With time and experience, you will learn to understand exactly what volume of winding you need to achieve, but for now, use my photo as your guide. The final volume of the winding should be slightly wider than the neck. As for the height of the winding, it should be such that, on the one hand, it does not push the head from the inside (if the winding is too high), and does not allow the head to "sit" deeply on the neck, to support it. I apply the head to approximately the level to which it should sit on the neck and cut off the excess height of the winding with ordinary scissors. That is, you can control the fit of the head by editing the winding height.
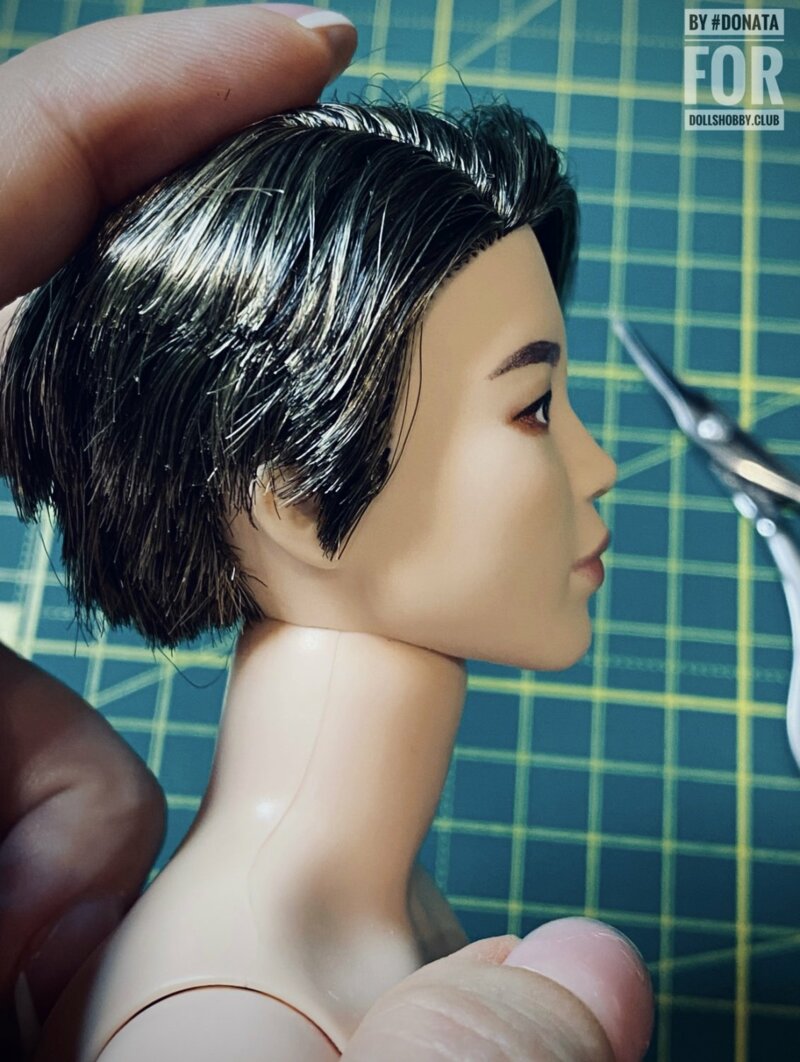
Now the most interesting! We take the head and begin to put it on the winding little by little. If the head refuses, it can be heated a little with a hair dryer. Make sure that the edges of the head section do not twist when putting it on and that the hair does not pull inside the head. The head SHOULD fit with effort, not freely! Put on the head as patiently as possible to avoid tears and other damages.
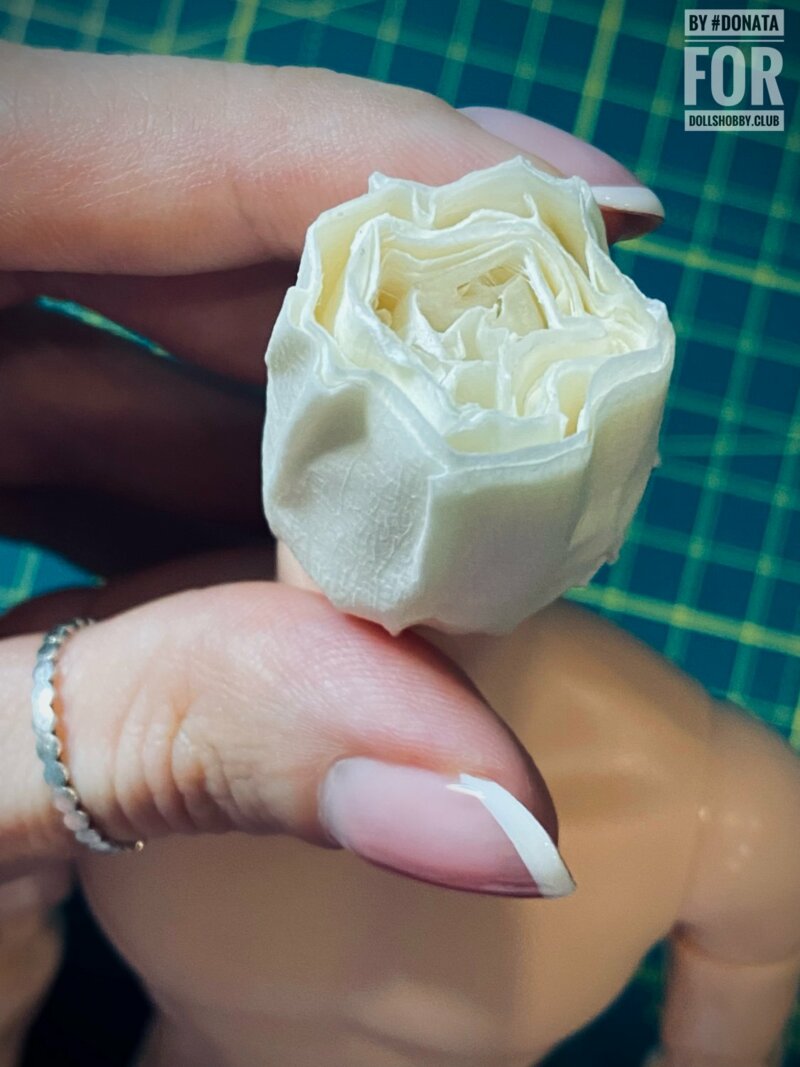
Here's what should happen: the head will sit on the neck, the coil will go completely inside the head and, since it is wider than the hole we made, will hold the head and not interfere with its movements.
Someone additionally, around the winding, also puts foil or paper, or syntepon, etc. in the head, I don't like it, I think that the head holds perfectly without additional tricks.
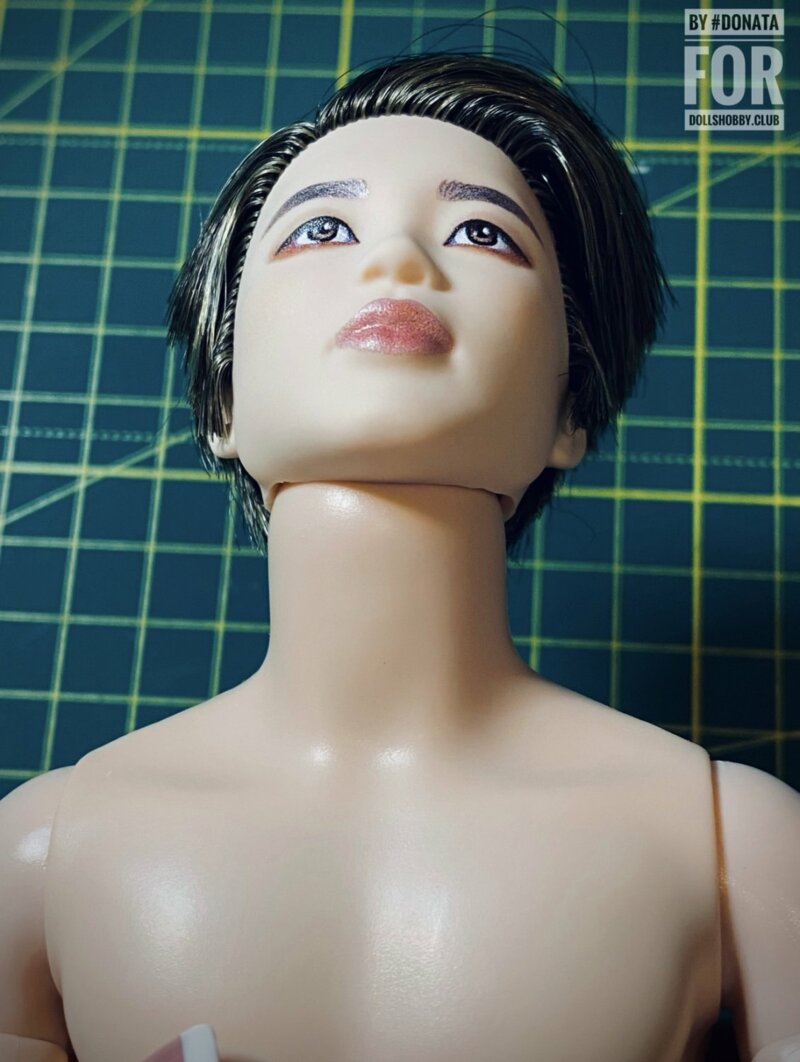
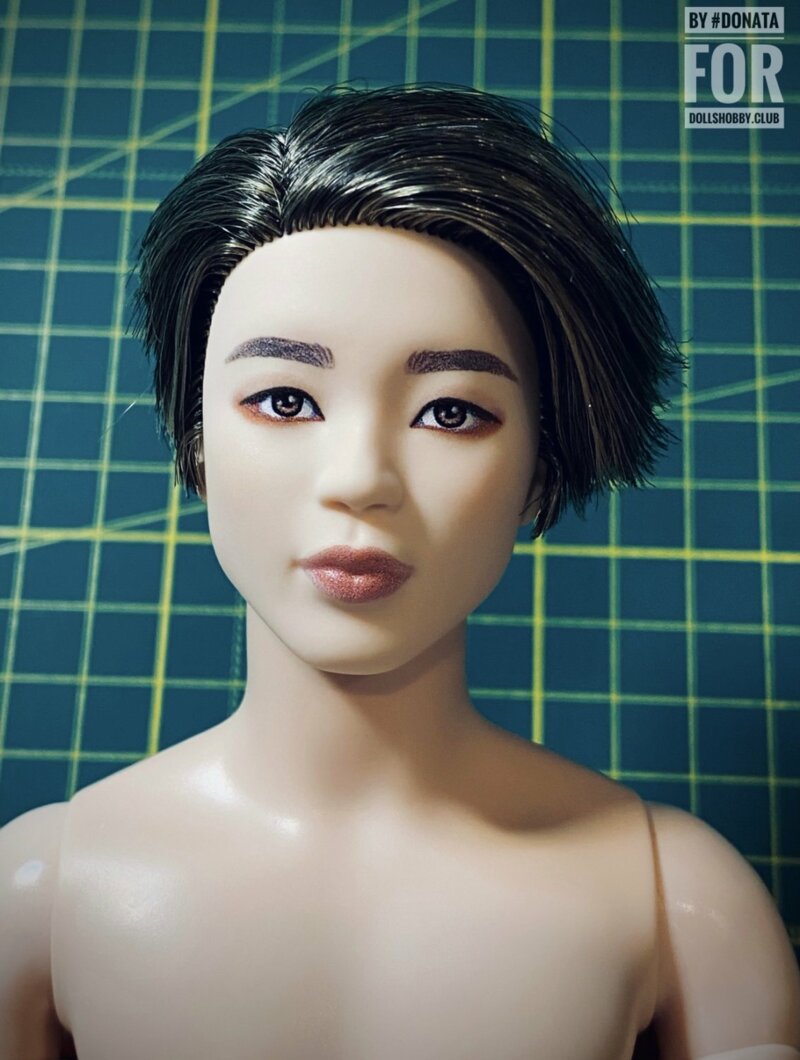
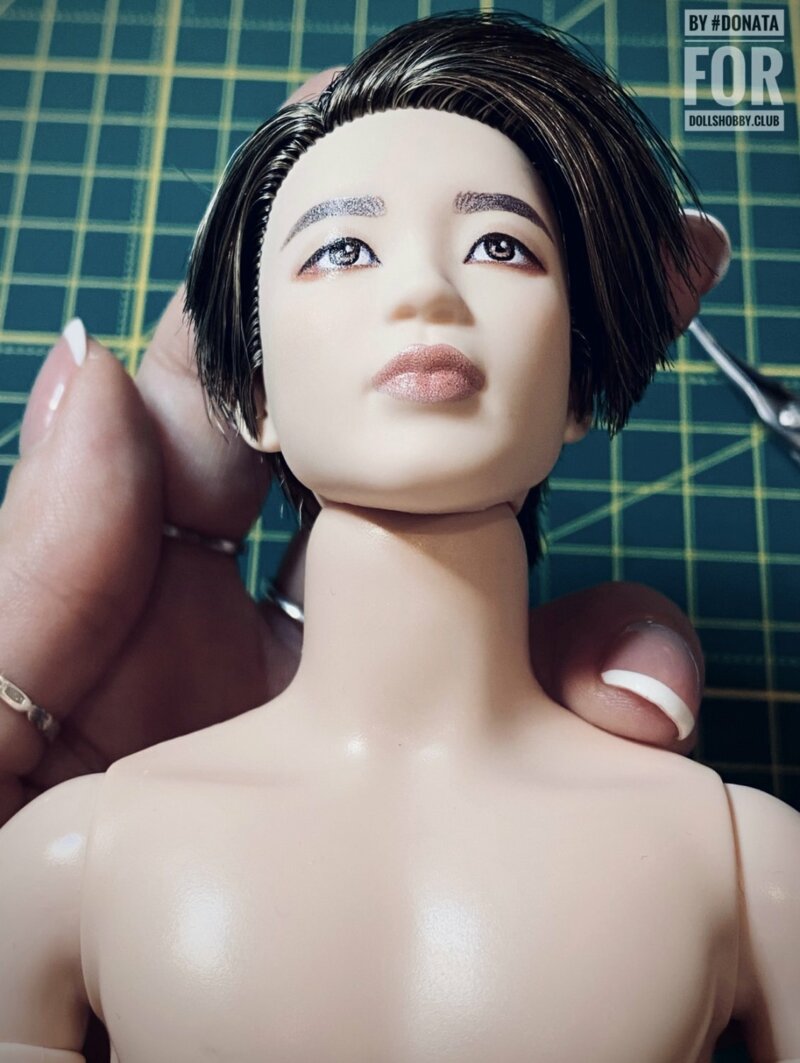
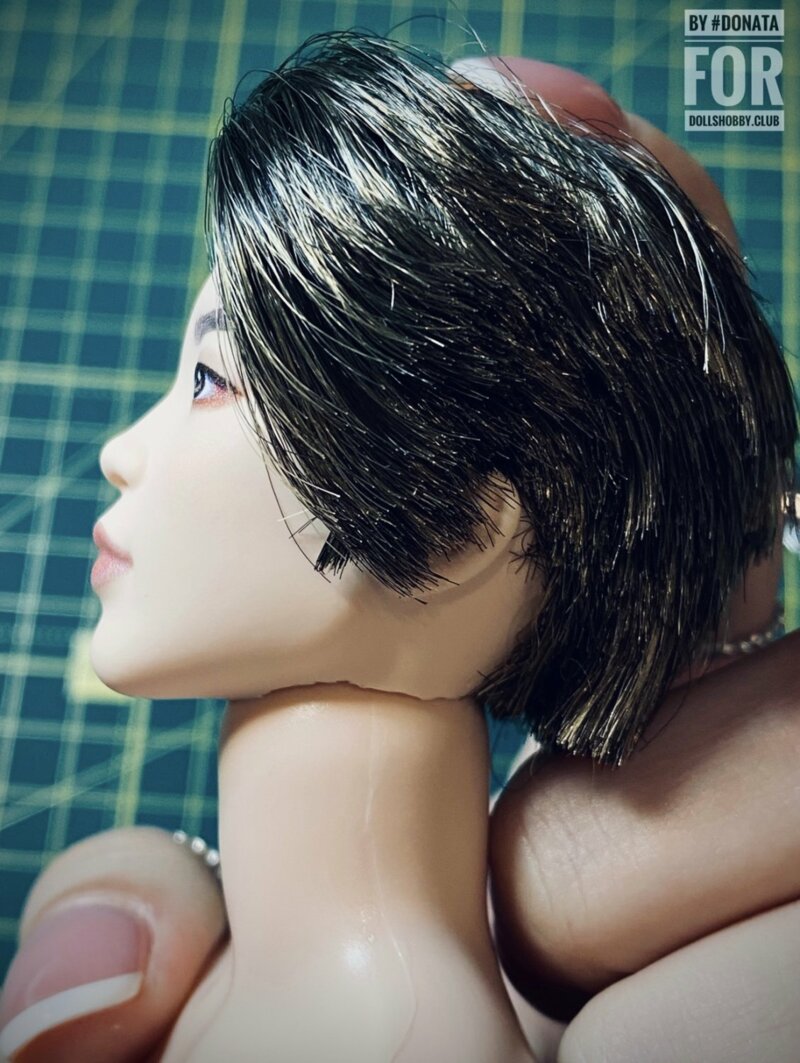
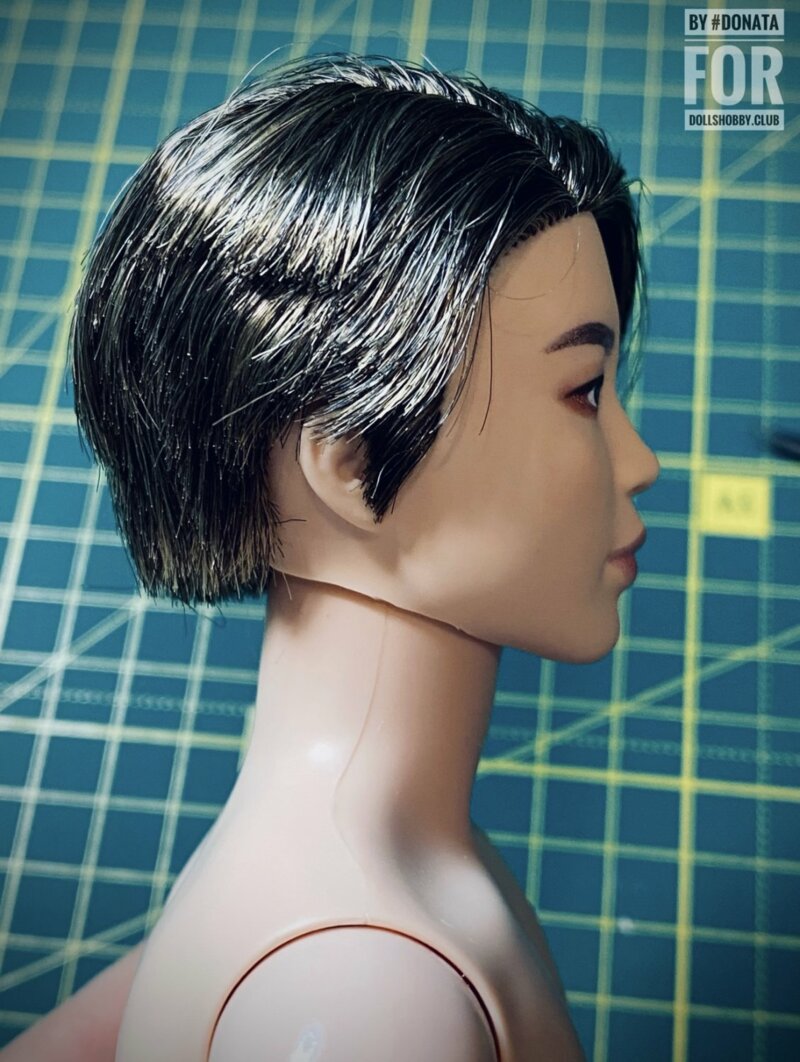
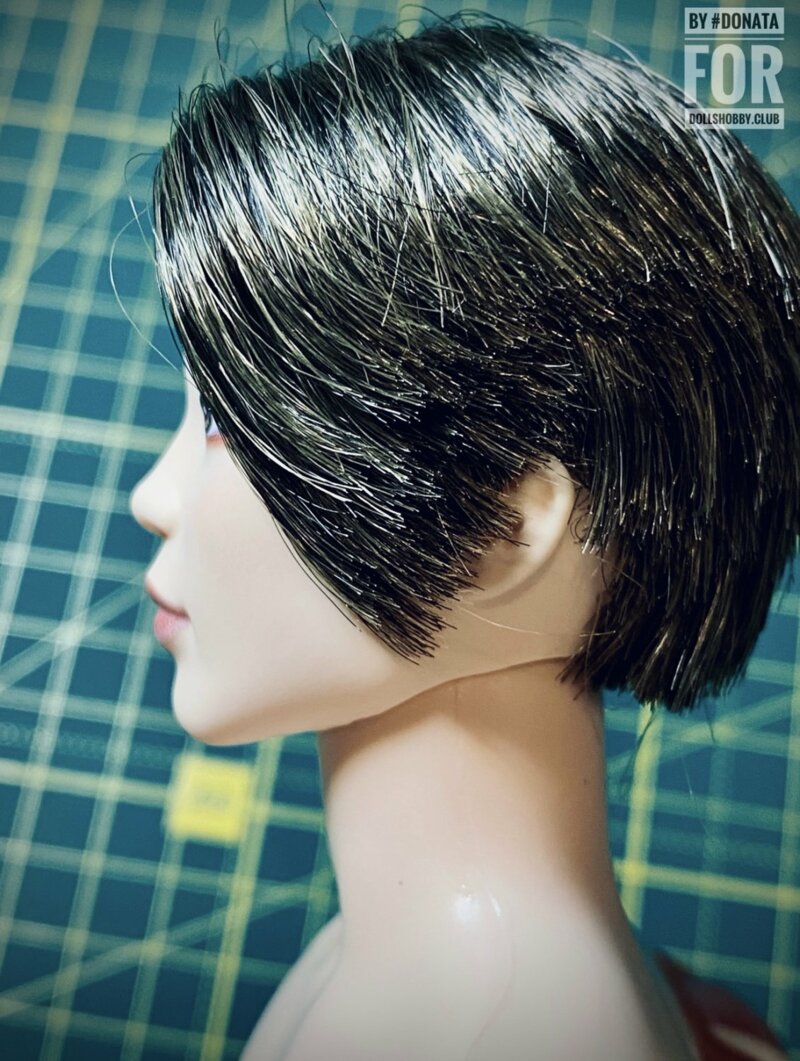
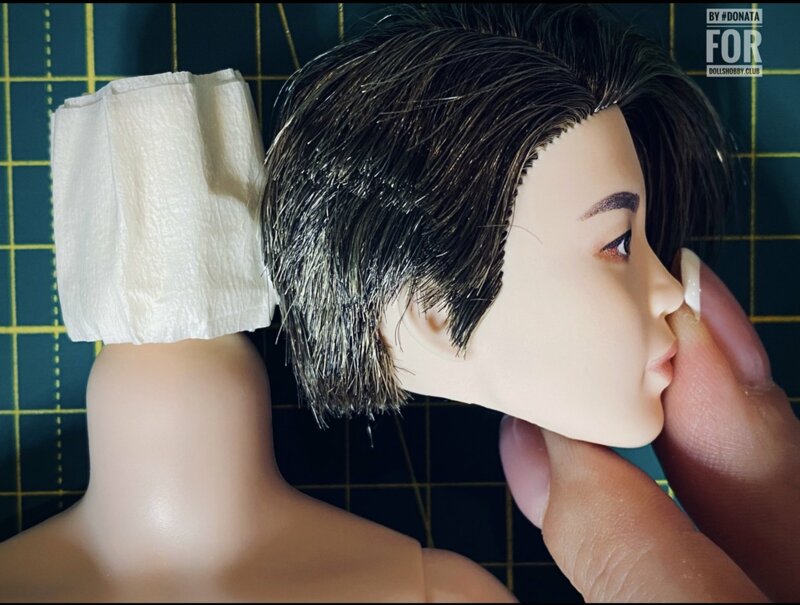
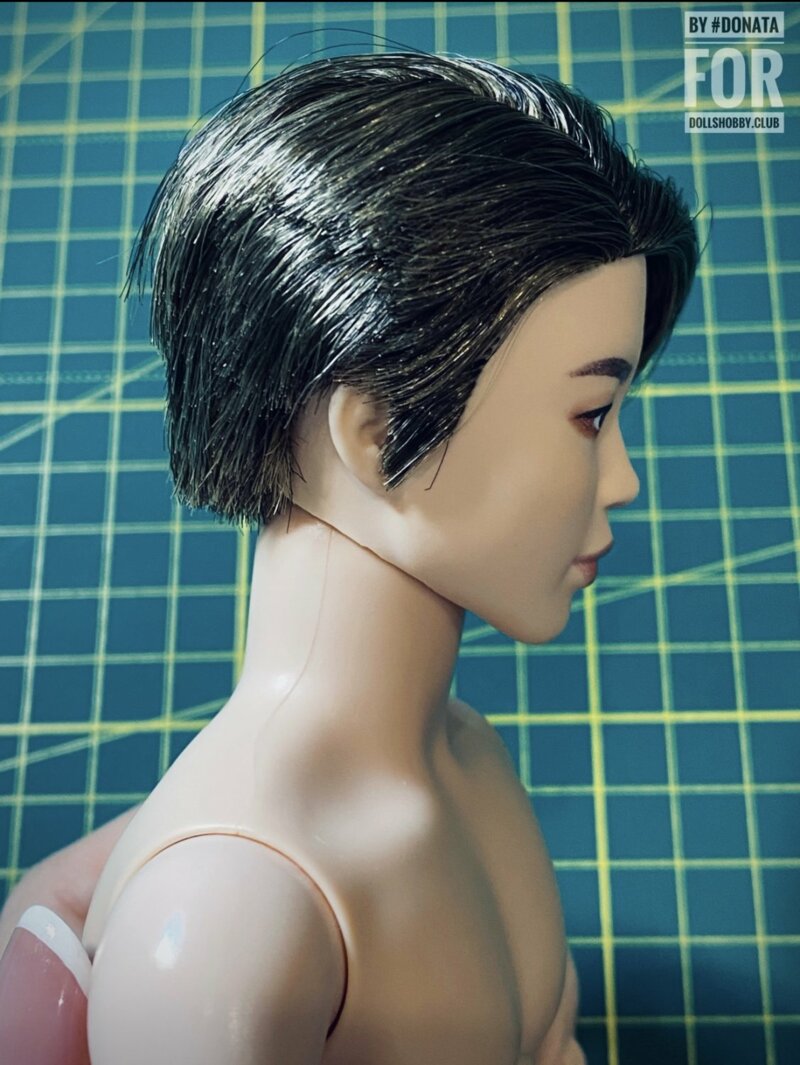
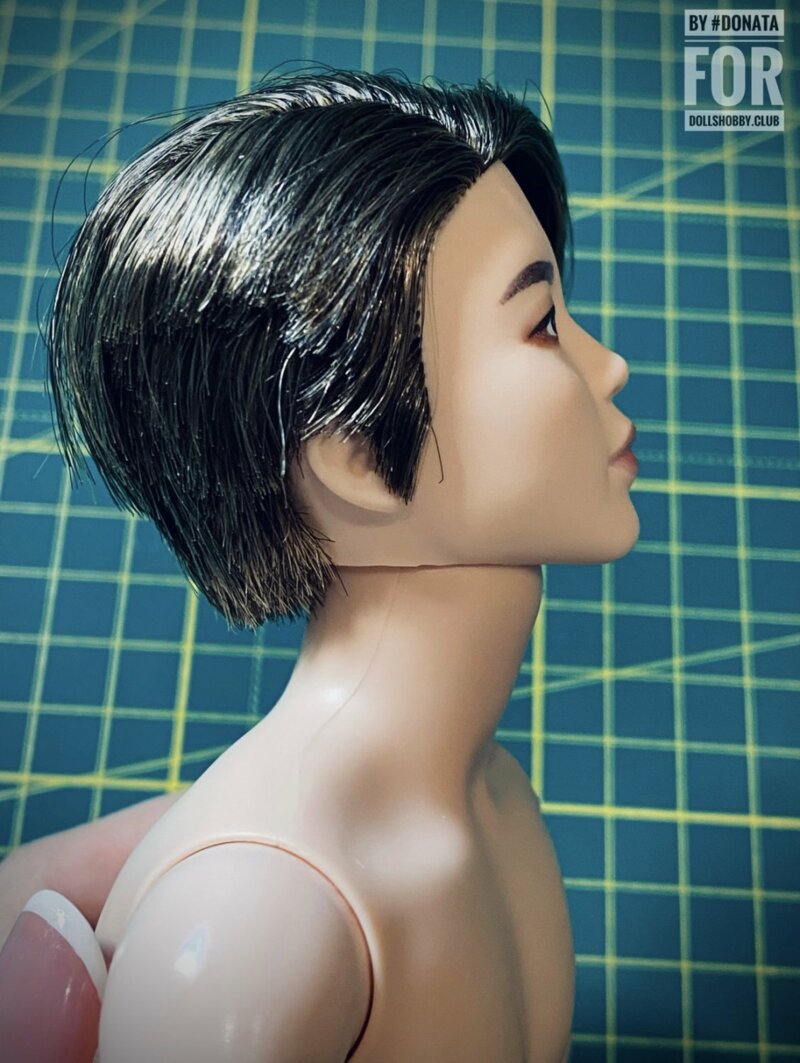
Free movements to the side, up and down, nothing sticks out anywhere, it looks neat, the head does not fall off to remove - you have to put in effort. I like this result, and you? ☺️
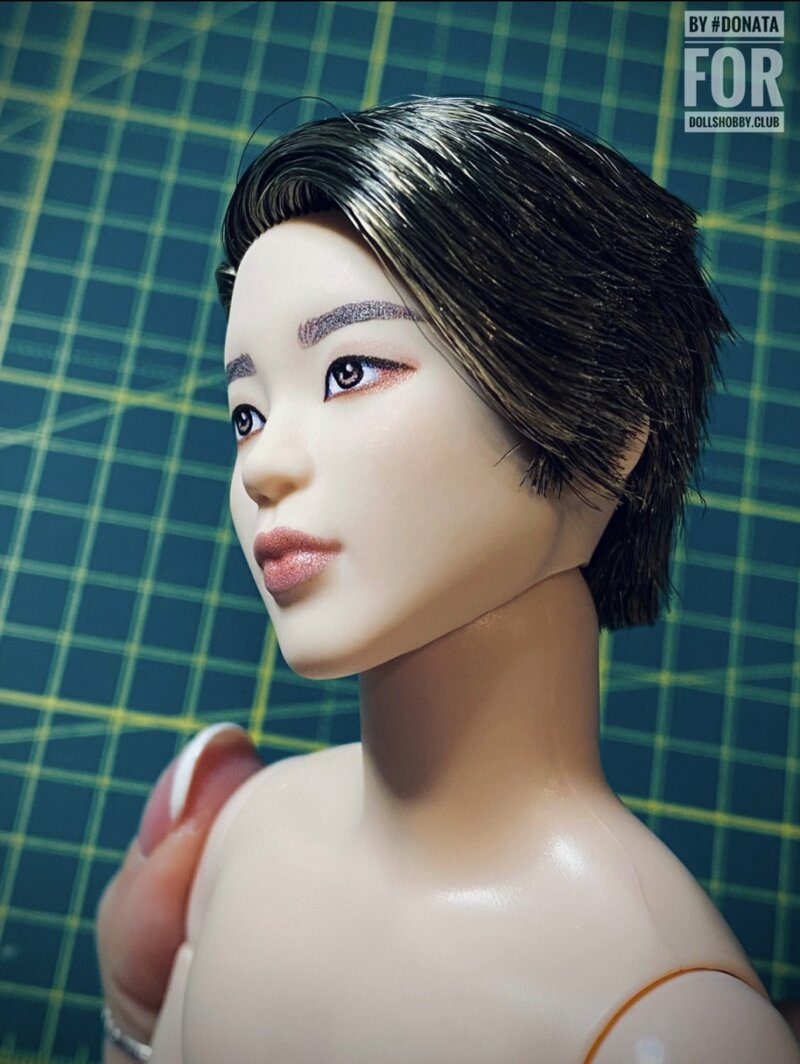
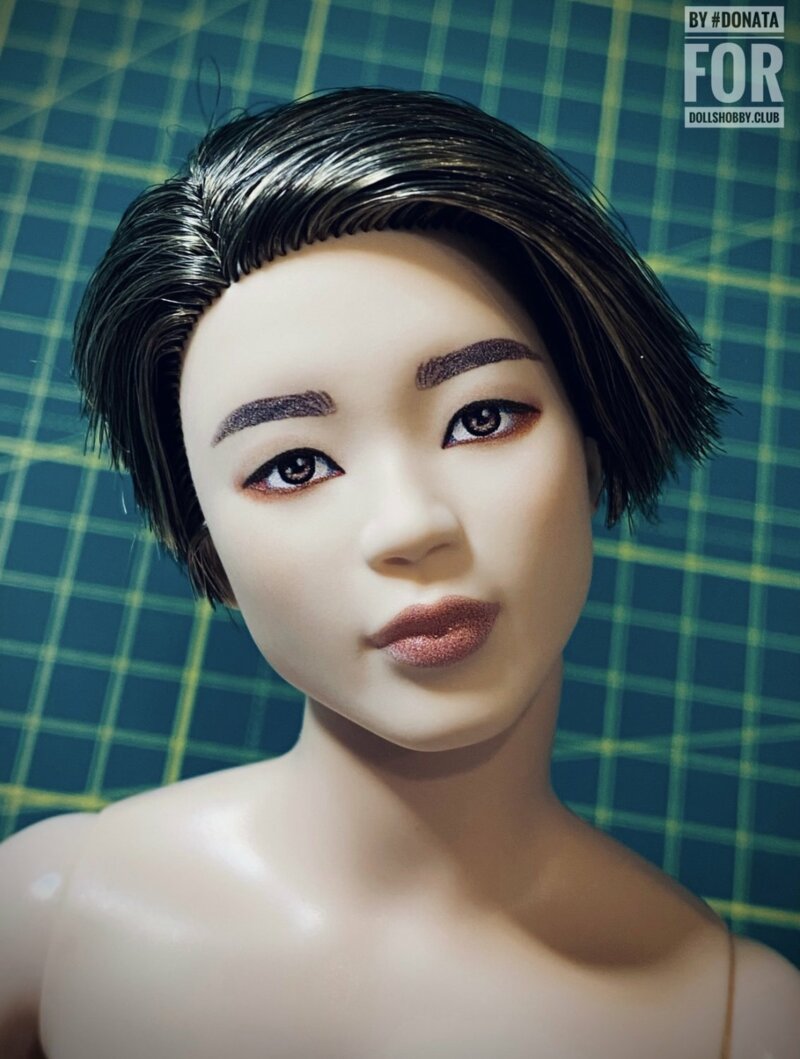
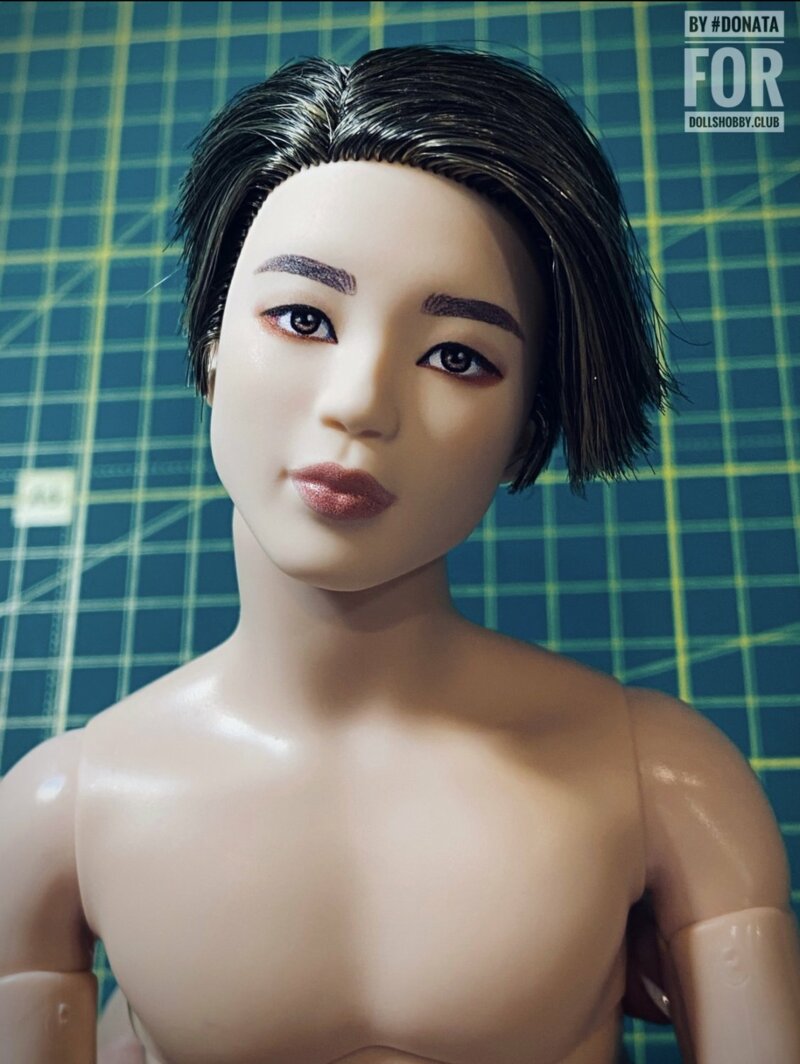
So, I have another BTS hottie, who will now be able to perform various dance moves in the role of a doll thanks to the Made to Move male body mobility by Ken-bunch BMR1959 👍🏼 By the way, the skintone match is also perfect, in my opinion🤩
Thank you for your attention!☺️
I hope this guide will be useful to you on the interesting path of hybridization. If you have any questions - write in the comments, I will answer.
Dolls in catalog


You may like